Creating Your First Site with Cravo
Turn a Craft document into a live website in two steps. This guide walks you through connecting Craft, picking your homepage, and launching — no template setup, no code.
What you'll need
- A Craft.do account (free or paid)
- A Cravo account
- About 5 minutes
You don't need a template or any design files — Cravo builds the site directly from your Craft document.
Step 1 — Get your Craft Base URL
Cravo reads your content through Craft's built-in API. You enable it inside Craft and copy one URL.
- Open your document in Craft.
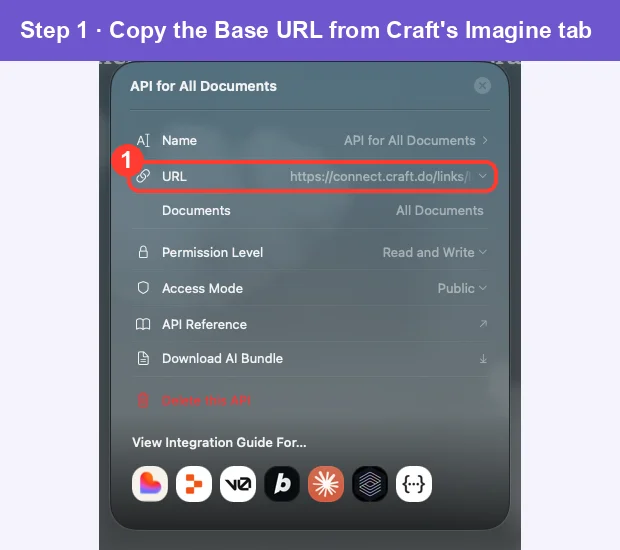
- In Craft's sidebar, open the Imagine tab.
- Click Add Your First API Connection, give it a name, then click Add Document and choose the document you want to publish.
- Copy the API URL shown at the top — that's your Base URL, e.g.
https://connect.craft.do/links/.../api/v1
💡 Need help on the Craft side? See Craft's own walkthrough: Imagine API setup guide and the Imagine page.
🔒 Do I need the API Key (Secret Key)? Usually no. The Base URL is enough for public documents. You only need an API Key if your document is private or you want advanced sync.
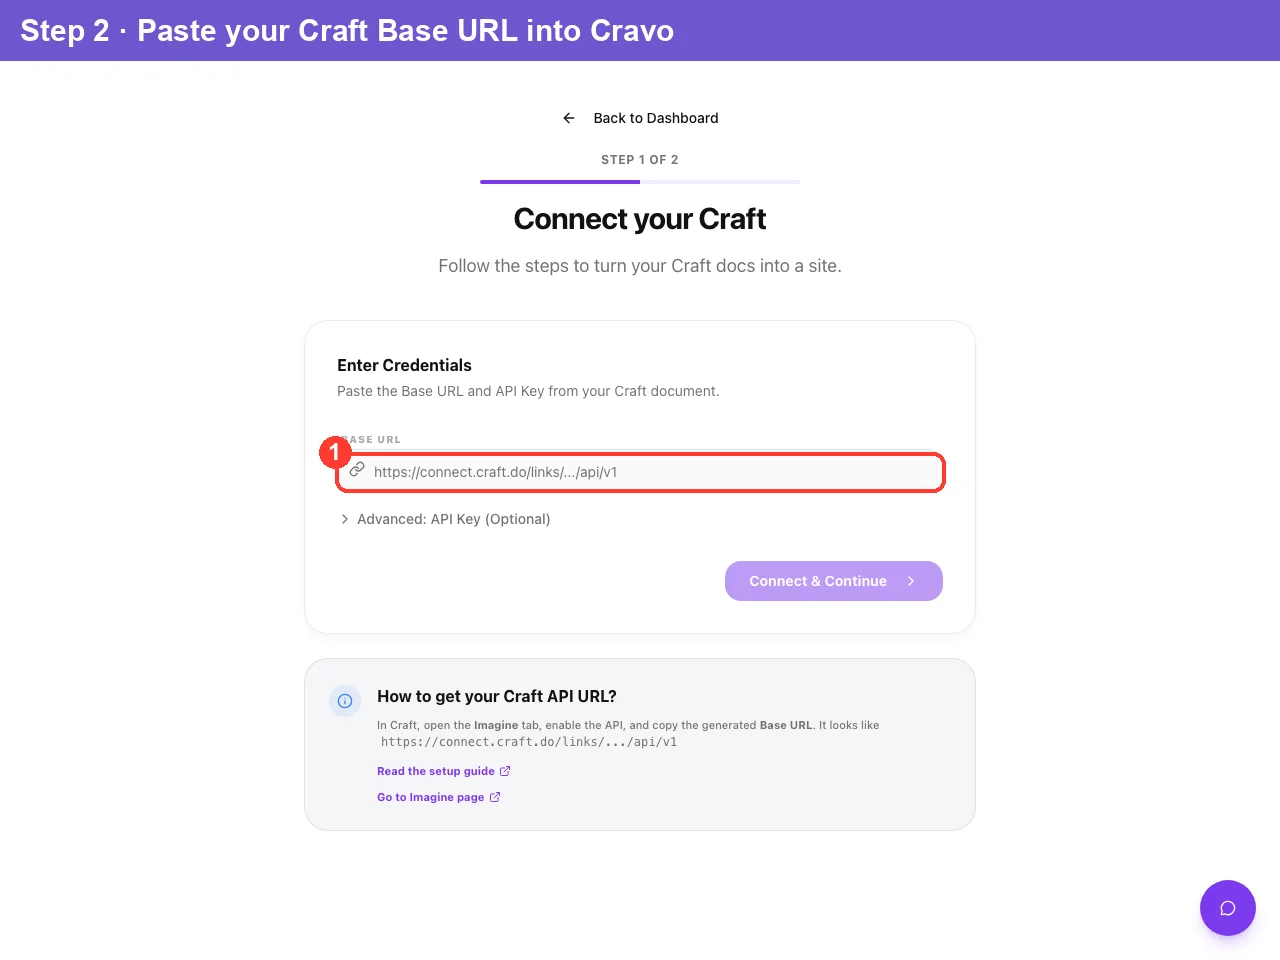
Step 2 — Connect to Cravo
In Cravo, start a new site (Dashboard → New Site). You'll land on "Connect your Craft."
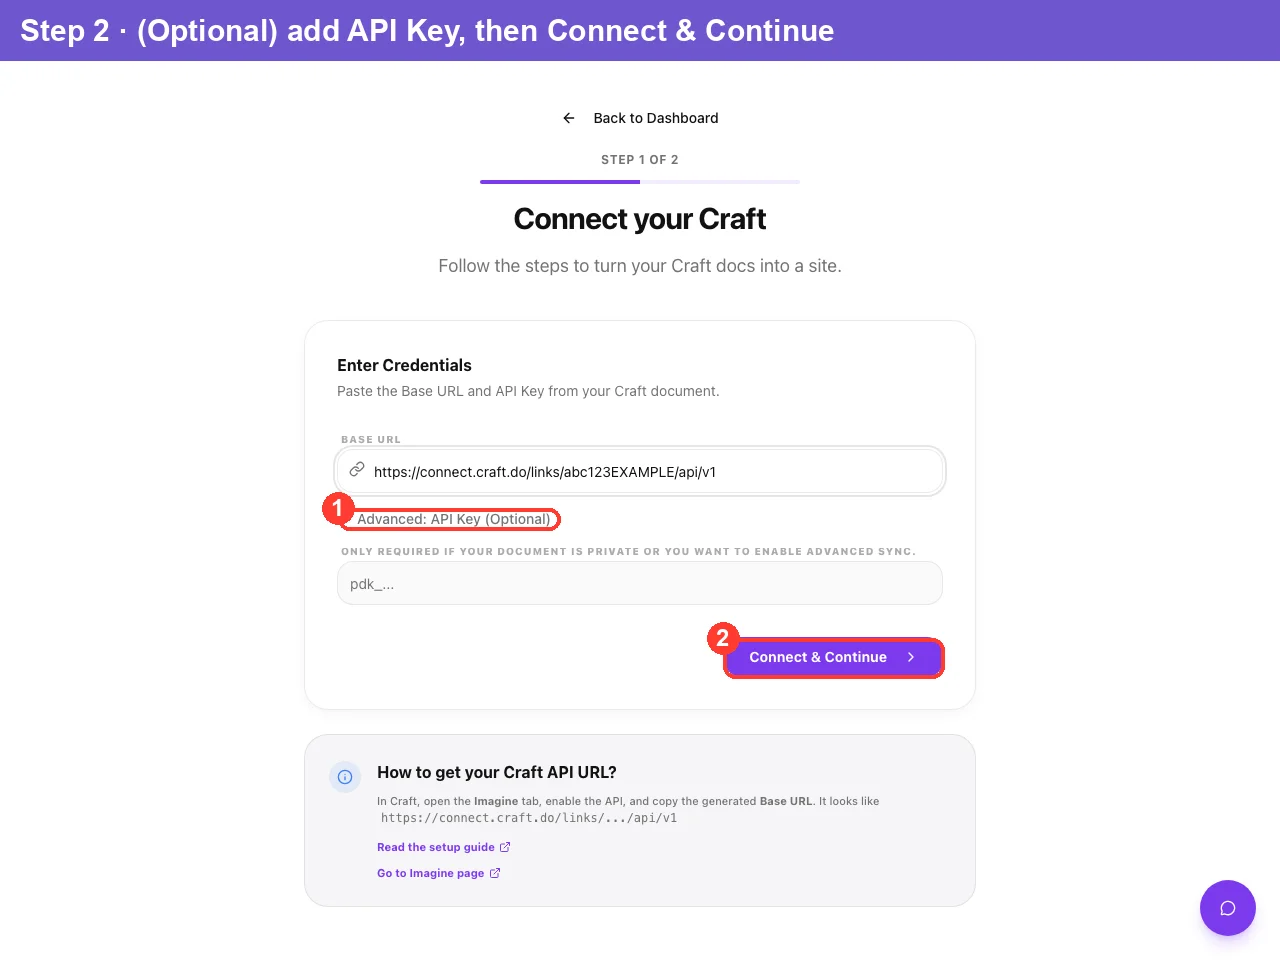
- Paste your Base URL into the field.
- (Optional) If your document is private or you want advanced sync, expand "Advanced: API Key (Optional)" and paste your key (it starts with
pdk_…). - Click "Connect & Continue."
When the connection succeeds, you'll see a "Successfully connected to Craft!" confirmation and move automatically to the next step.
📌 If you're prompted for an API Key, your document is private. Cravo expands the API Key field for you — paste the key from Craft's Imagine tab and click Connect & Continue again.
Step 3 — Finalize your site
On "Finalize your Site" you'll set the homepage and the address.
Select your homepage
Cravo lists the documents it found and auto-selects the first one as your homepage. Pick a different one if you'd like. Don't see a document you just added? Click Refresh.
Name your site and choose its address
- Site Name — the display name shown in the browser tab and your dashboard (e.g. My Portfolio).
- Site Address — your live URL:
your-site-name.cravo.site.
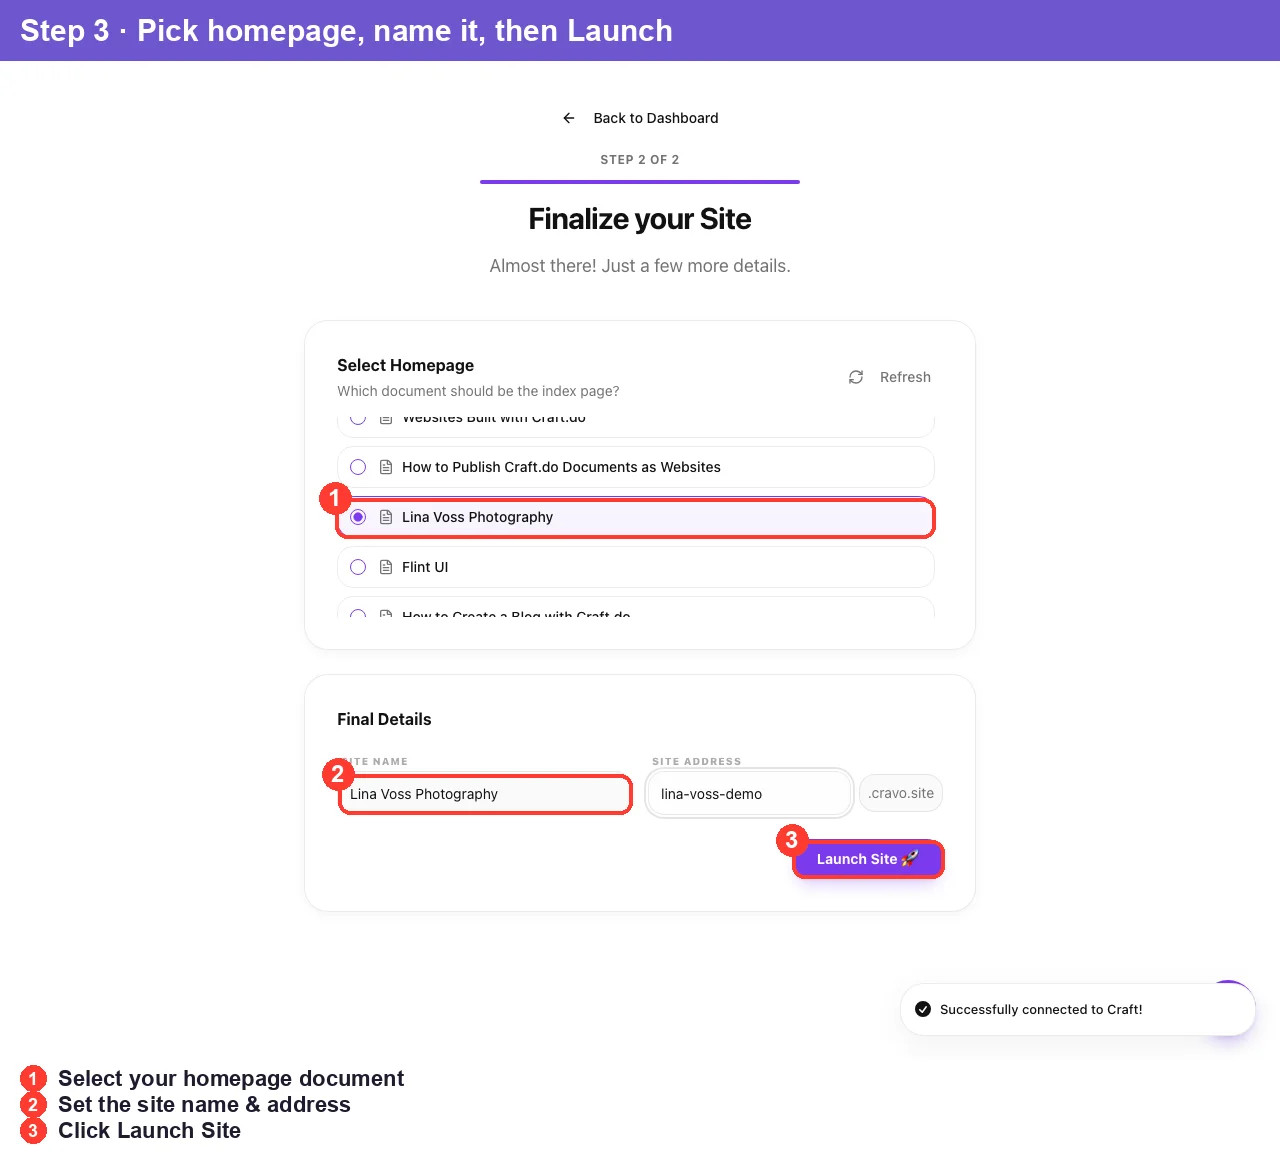
Step 4 — Launch 🚀
Click "Launch Site 🚀." Cravo will:
- Create your site.
- Sync all content from your Craft document.
- Finish and take you to your dashboard.
A full-screen progress view shows each phase (Creating your site… → Syncing content… → Almost ready!).
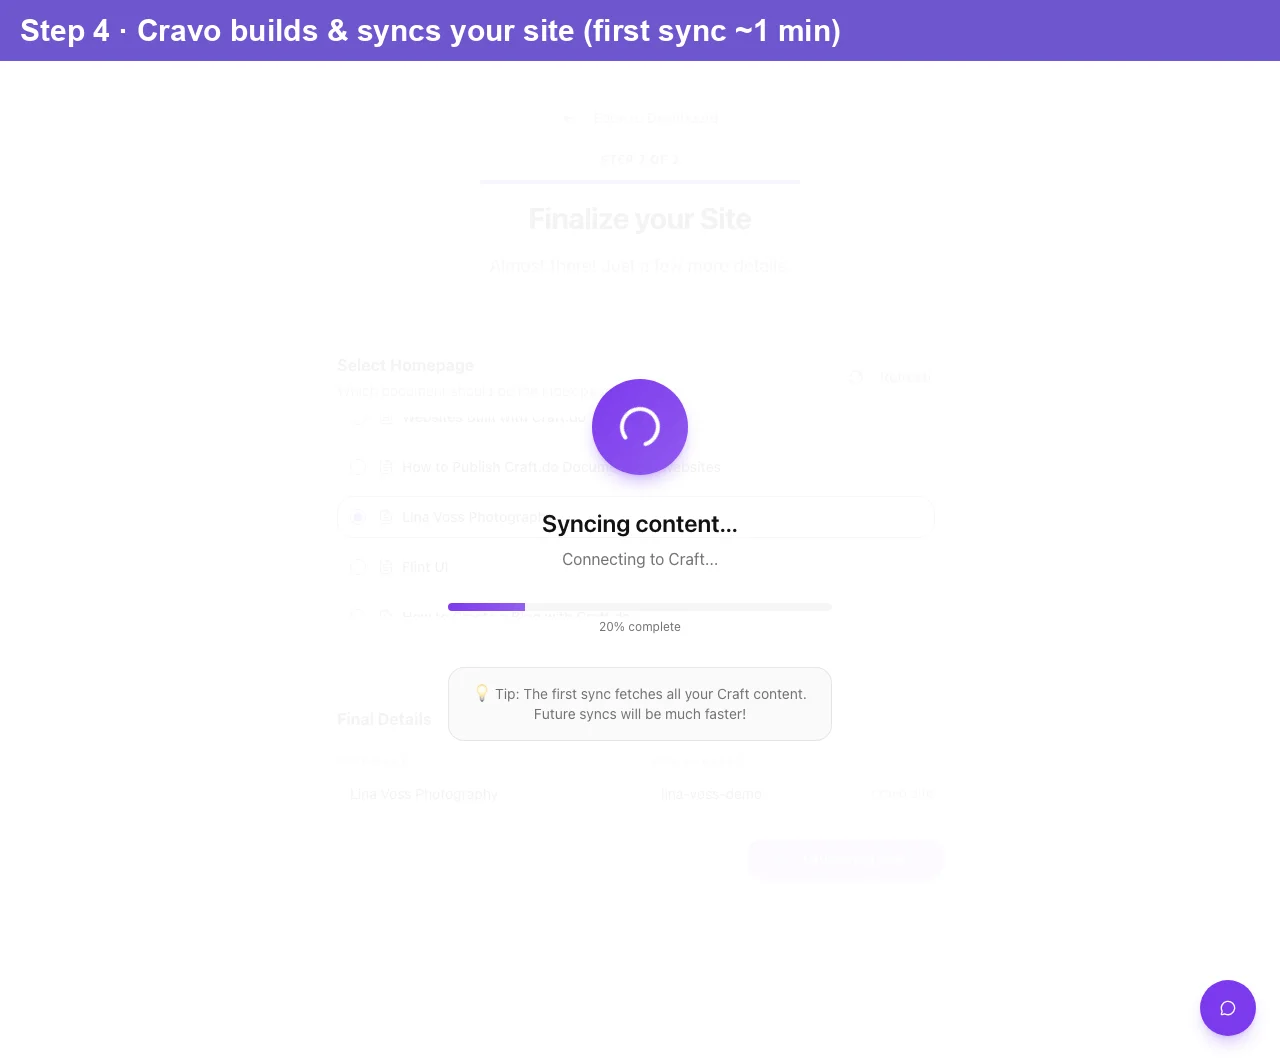
💡 First sync is the slowest. It fetches all your Craft content at once. Every sync after this one is much faster.
Once it completes, your site is live at your-site-name.cravo.site. 🎉
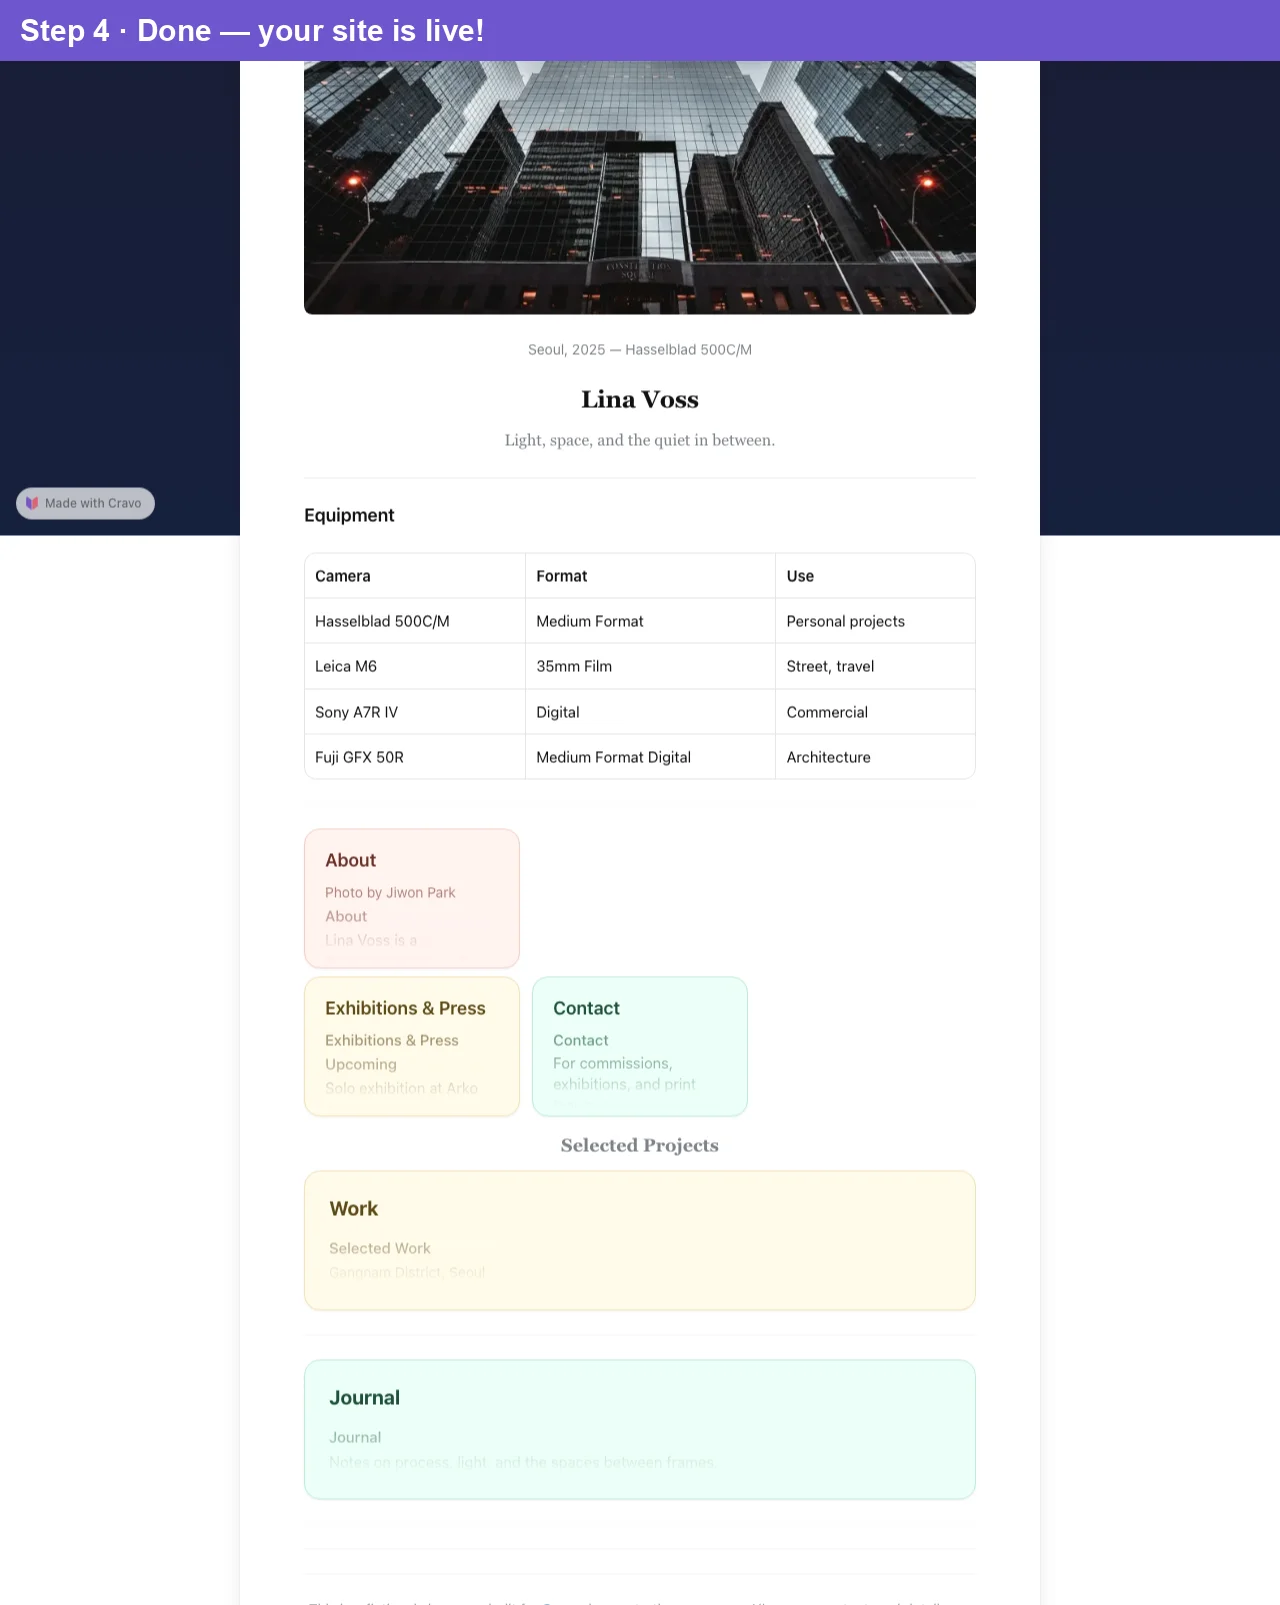
🔗 See it live — this example is published at lvphoto.cravo.site
What's next?
- Understanding the Cravo Dashboard — manage syncs, settings, and pages.
- Customizing your site design — colors, fonts, and layout.
- Setting up navigation — menus and sidebar.
Troubleshooting
"Failed to connect to Craft API." Re-copy the Base URL — make sure it ends in /api/v1 and has no extra spaces. Confirm the API is still enabled in Craft's Imagine tab.
Cravo asks for an API Key. Your document is private. Open Craft → Imagine, copy the API Key (pdk_…), expand Advanced: API Key, paste it, and reconnect.
"No documents found." Check your API permissions in Craft, then click Refresh on the homepage step.
Sync is taking a while. Large documents with many images take longer on the first sync. Check your connection; if it stalls past a couple of minutes, refresh the page.
Need a hand? Contact cravo.help@gmail.com.